How to create/edit a DNS Zone for your domain ?
Please follow our login steps regarding login in into Fleio.
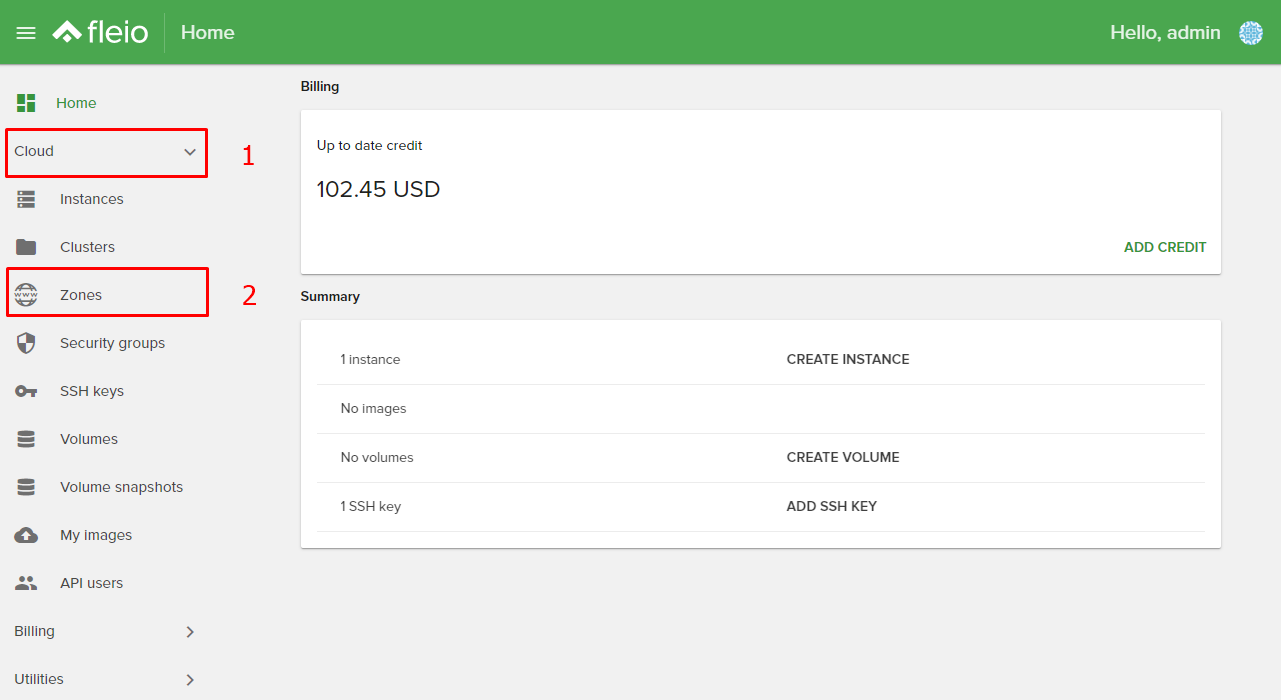
- Next step is to click on Cloud, then from dropdown menu select Zones.
Create the DNS zone
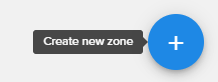
- To create a new zone you need to click on the blue plus sign located at the bottom right part of the page:
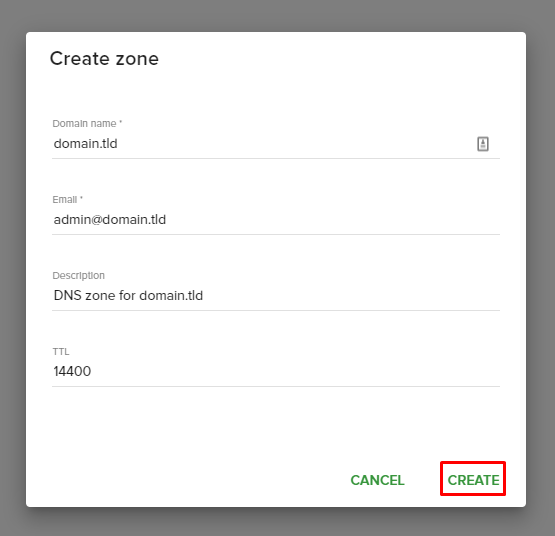
- Now in the popup window you have to write the domain name, email address, description and TTL (Time To Live) - 14400 is equivalent to 4h. That mean when you made a change to the zone have to wait 4 hours to take effect.
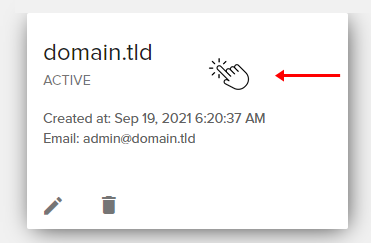
- After you hit CREATE the zone starts to create itself and must wait until says ACTIVE under domain.tld. To add a record click on the box with your domain.tld name.
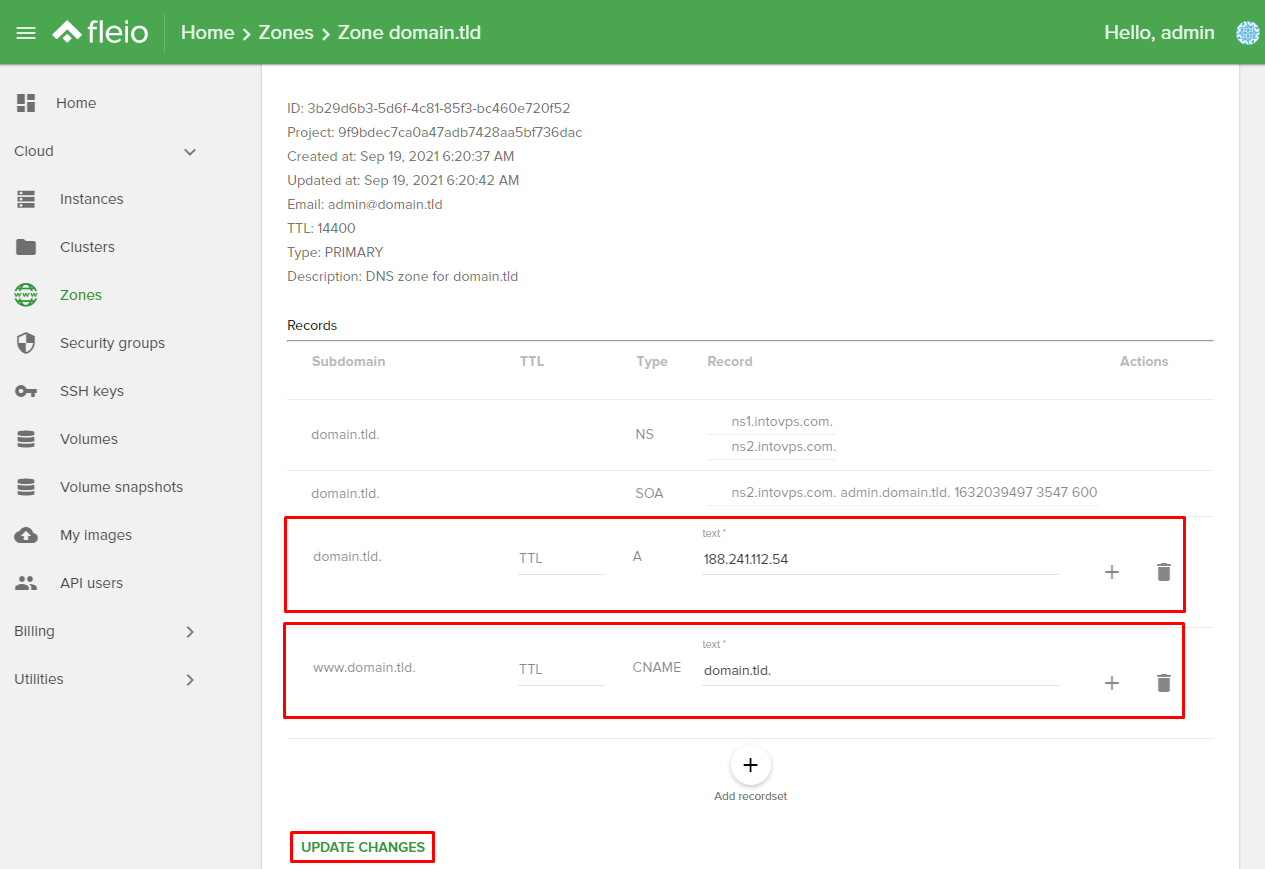
- By default you get 2 records NS and SOA, to add a new record click +Add recordset. I have added an A record that points to IP: 188.241.112.54, when you add records you have to add the point sign after domain name but not after de IP. You have to add and the point after de domain name and value when the value is text also (e.g. CNAME Record). If you do not add the point sign you'll get an error. To save your new added records click UPDATE CHANGES.
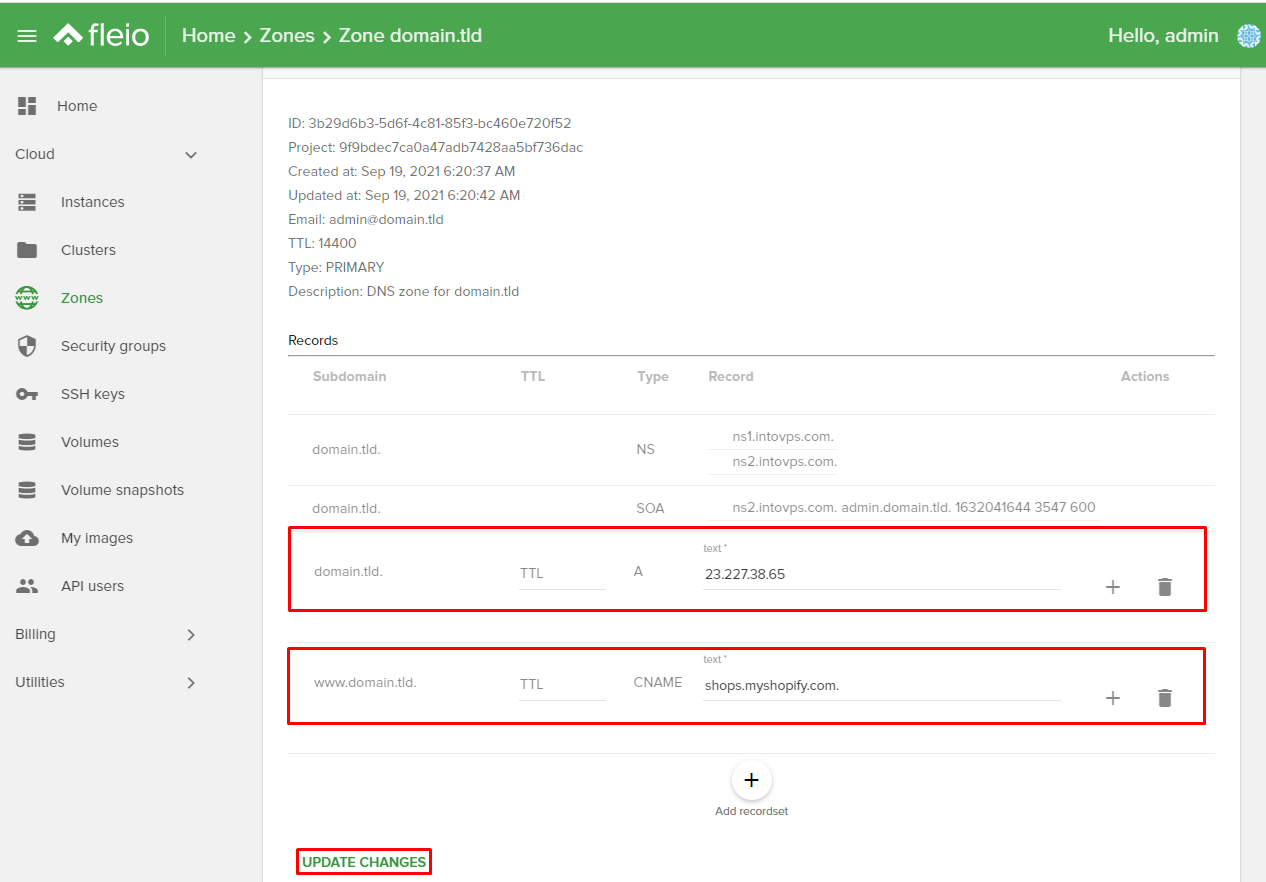
Edit DNS Zone
- For edit DNS Zone you have to follow the same path Access Control Panel from your intovps account then click Cloud -> Zones -> domain.tld. Let's pretend we want to point our domain to shopify, you have to click on text field and add IP: 23.227.38.65 for A record, for CNAME record we have to point it to shops.myshopify.com. then UPDATE CHANGES.